Showing posts with label Bosch. Show all posts

Tuesday, April 19, 2011

Cheese, please

Oh the things I blog about... 

After my trip to Costco today, I went about my usual routine of grating my own cheese from the huge block that I buy there and realized... hmmm... I don't think everyone else does this.  Perhaps I can inspire :)

I must tell you all a deep dark secret of mine.  I LOVE cheese.  Like. a Lot. We go through quite a bit of cheese around here and I cant stand buying 2 lb loafs for $10+ as often as I do.  Here's my solution.  I pick up the 5 lb. loaf of Sharp Cheddar from Costco for about $12 instead.  Now, although we eat a lot of cheese, we definitely don't go through a 5 lb block fast enough for it to not go moldy.  So, I split it up into thirds. 

  1. 1/3 is kept in the refrigerator for slicing, etc
  2. 1/3 is grated and kept in the fridge for anything that calls for grated cheese
  3. 1/3 is grated and frozen to pull out once the bag in the fridge is empty

Using the cheese grater attachment for my Bosch mixer, I cut large chunks and grate them section at a time. 


If you haven't used a Bosch before, you must try one! Seriously, I am convinced that once you go Bosch you will never go back.  If you have a Bosch, you must get the cheese grater! It is equally amazing and is not just for cheese.  I use it for grated onions, and any veggies you want grated (i.e. carrots for salads, etc).


Once the cheese is grated, I freeze 1/3 in a zip loc freezer bag, and throw the other bag in the fridge.

 It is so convenient to have your own fresh grated cheese in the fridge at all times.  I use it for quesadillas, salads, casseroles, etc. etc etc.  You name it, and I probably throw cheese on top :)


Alright folks, enough cheese talk.  If you already do this props to you.  If not, it's so worth the 5 min of extra work when you buy the block to save a ton of $ and have your cheese go a long way.

Say Cheese!

Monday, January 17, 2011

Mrs. Field's Copycat Oatmeal Cookies

Have you ever wished you could eat clam chowder without the clams, or chocolate chip cookies without the chocolate chips?  I used to beg my mom for each of those as a kid (to name a few).  I don't like clams (at all) and I don't love chocolate (yes I know- everyone in the world thinks this is insane).  I just always felt like the chocolate flavor overpowered the cookie.  I was ecstatic when my sister Amanda first introduced us all to this copycat Mrs. Field's Oatmeal Cookie recipe.  It's made with oatmeal, but has a totally different texture because the oats are blended. 


There are many versions of this out there that add grated hershey bar, chocolate chips, nuts, and coconut flakes.  Don't get me wrong, those are all fabulous ingredients and I make several cookie recipes with the same ingredients.  However, there is something so delicious about the simplicity of this cookie.  It tastes so good by itself that it really just doesn't even need all of the extras.  They are sweet, buttery, and chewy.  I must warn you that they are also extremely addicting.  I hope you love them as much as I do.

Mrs. Field's Copycat Oatmeal Cookies

Ingredients

picture shows ingredients for a half recipe- you will need two eggs and two cubes of butter... and pretend the coconut flakes aren't there since I just went off about not using them.  Sometimes they are fun for an added flavor and texture but I usually don't use them.  The rest of the pictures don't include the coconut flakes.
2 cups flour
1 tsp baking soda
1 cup melted butter
1 1/2 cups sugar
1 tsp vanilla
2 eggs
2 1/2 cups oatmeal

Directions
Preheat oven to 325 degrees.  Blend oatmeal until it turns into a thick powder, approximately 1 cup at a time; set aside. 

Cream butter and sugar in Bosch or electric mixer. 

                                      
Add eggs, one at a time beating well. 

Mix in dry ingredients, mix well. 


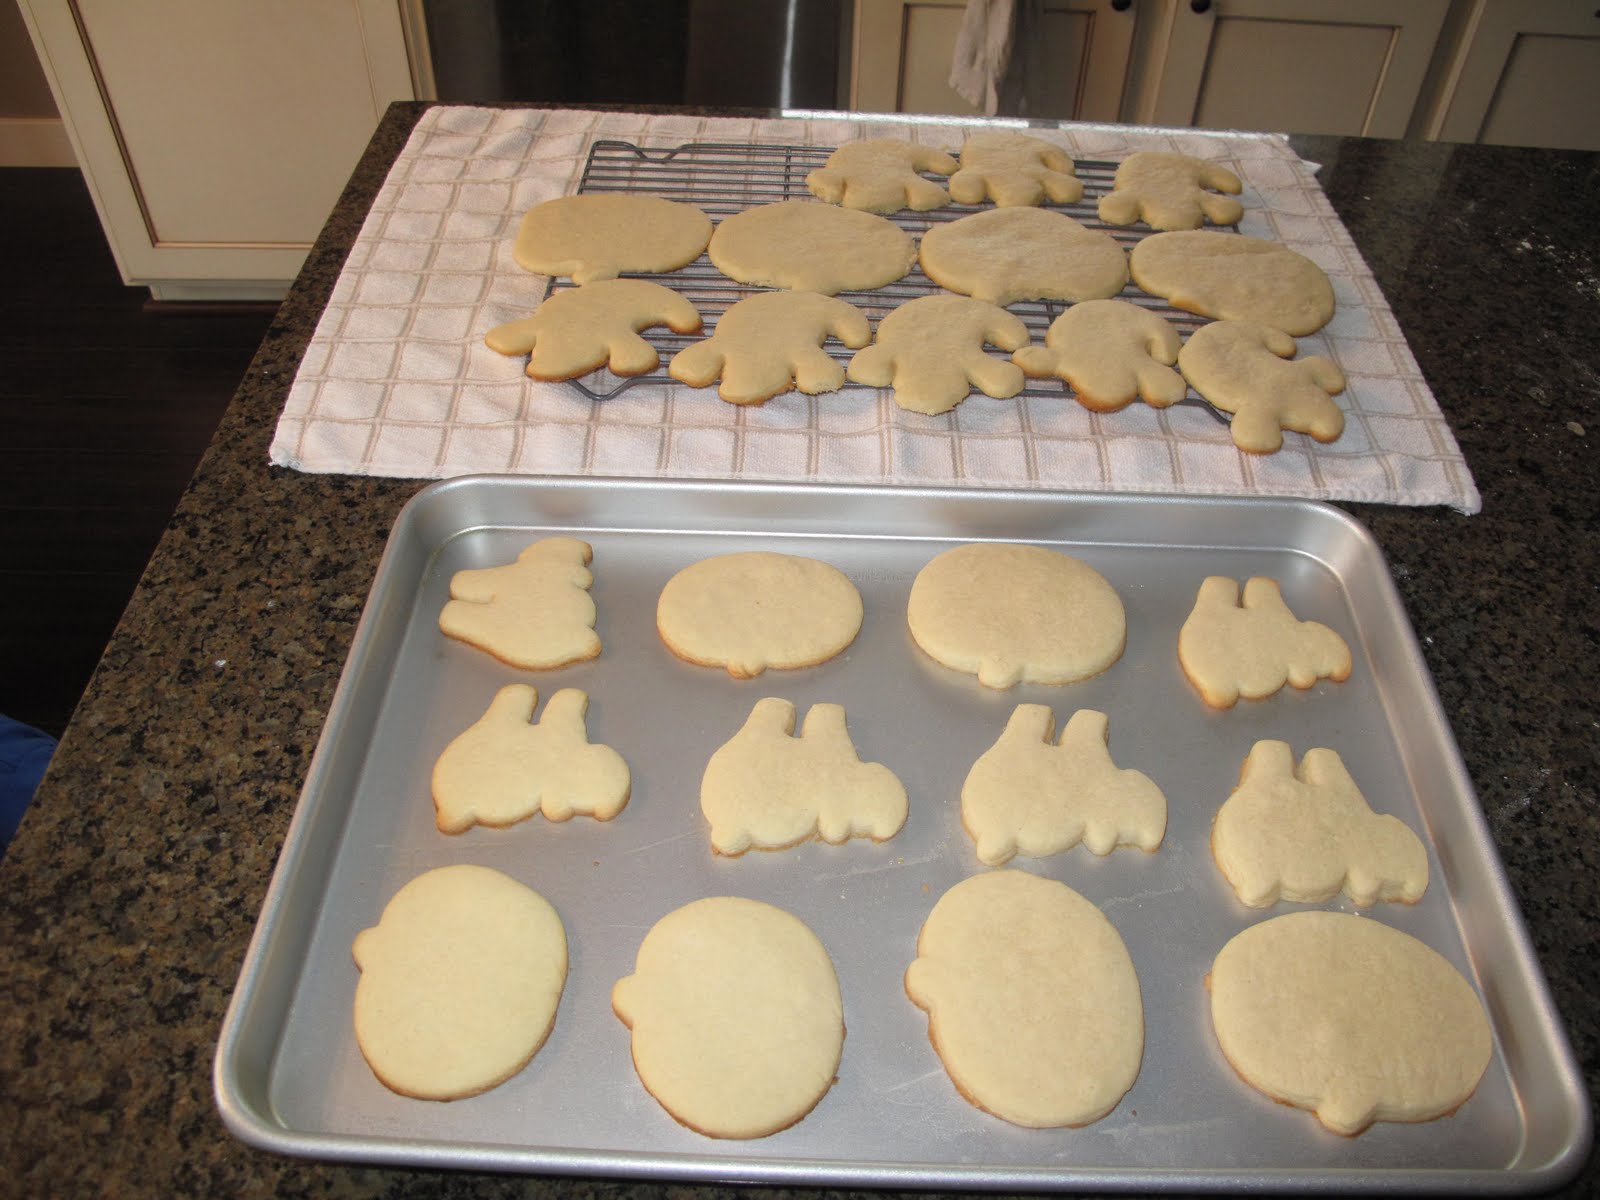
Roll into tablespoon size balls and place on lightly greased cookie sheet, approximately 12 per sheet. 

Bake for approximately 10 minutes.  You don't want these to turn golden.  They are the best when they are still soft and chewy.  Over baking makes them crunchy and hard.


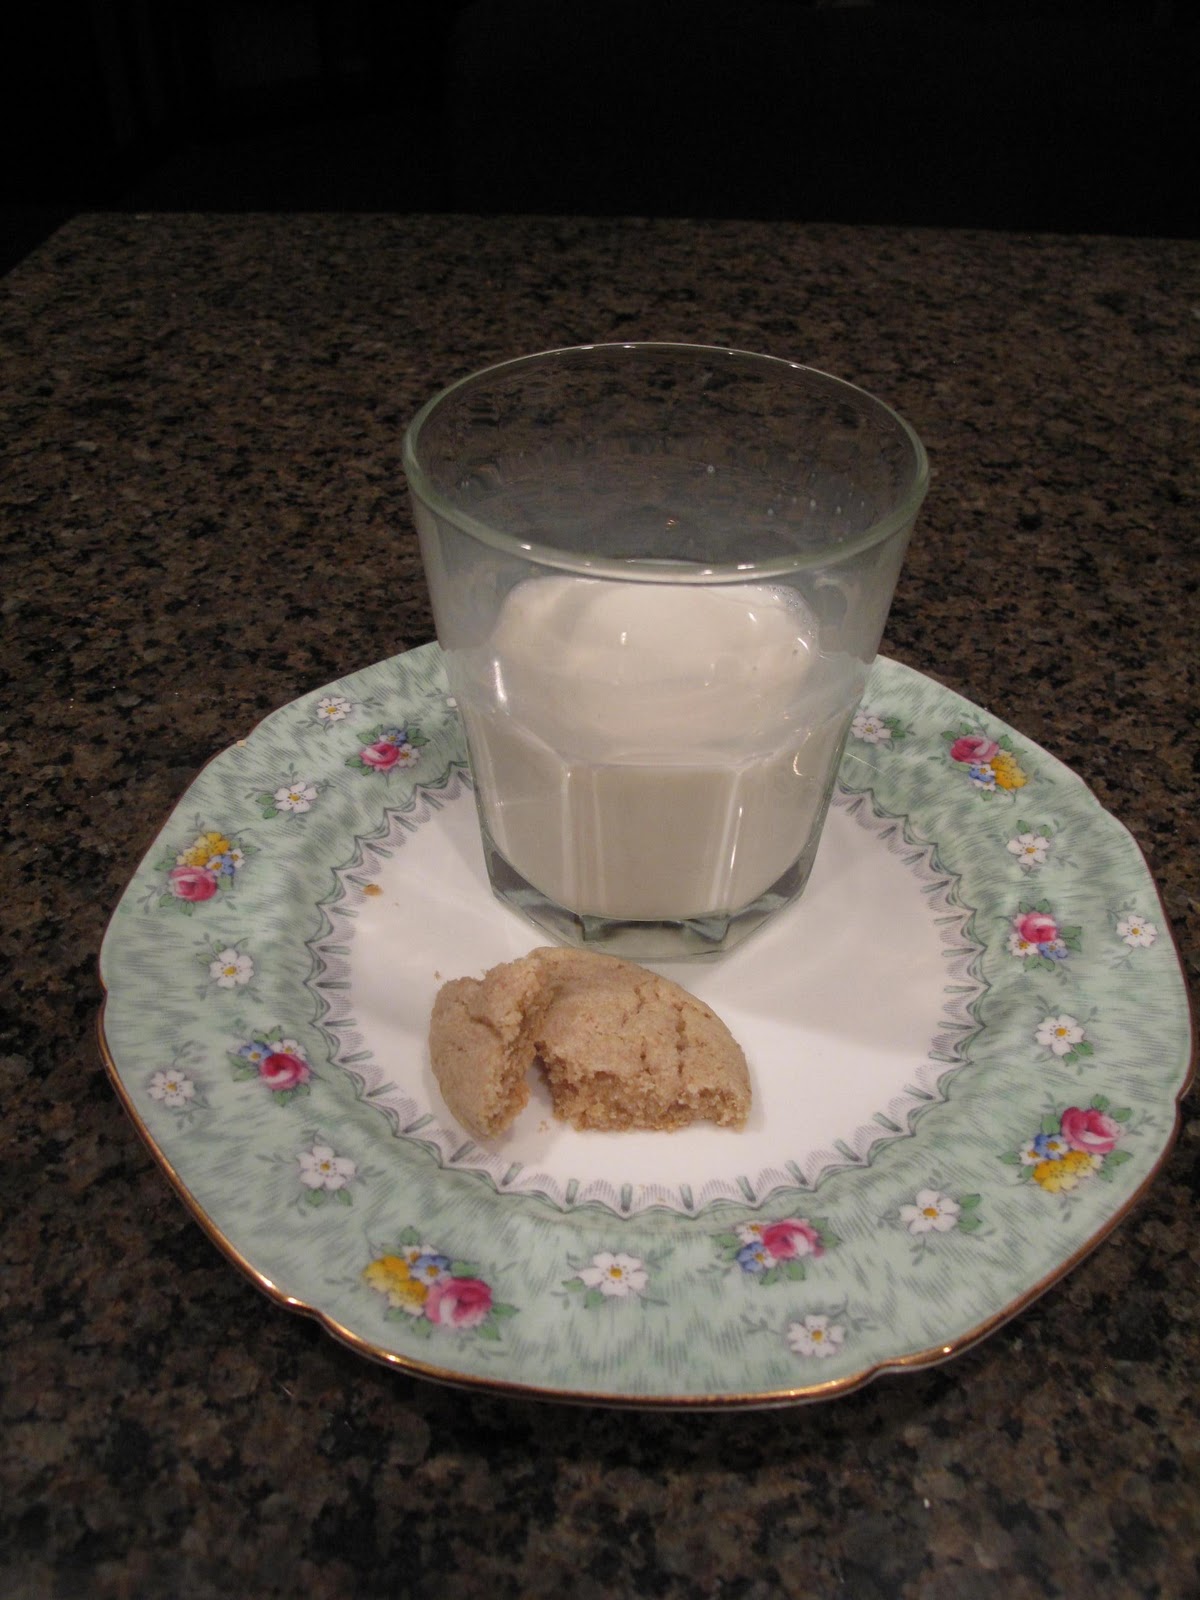
Enjoy with a tall glass of milk (I won't blame you for drinking whole milk if you ran out of 1% and had no other choice but to drink your toddler's milk... I, on the other hand would never do such a thing).


~PW

P.S.
This darling Polo Ralph Lauren shirt was a $2 steal I found at my local DI this week.  It is in perfect condition.  He wasn't thrilled about modeling it before church but you get the idea...


I sure love that little stinker boy.

Sunday, November 21, 2010

Fabulous French Bread

The Nutcracker performance is over! It was a really great night. All of the hard work paid off for sure. I was so proud of my students and think/hope that the audience was entertained. I'll post pics/video once the videographer is finished.


Perhaps the best part of the hard work was when I finally went to sleep last night... had one of those deep sleeps where you don't remember falling asleep, don't remember dreaming, and wake up feeling like you just closed your eyes 2 minutes ago. It was amazing. I also enjoyed a 2 hour nap today... no interruptions. Yup. I feel like a new woman.


Our cute neighbors invited us over for dinner tonight, so I baked some of Aunt Janet's famous french bread to take with us. This recipe is super easy, even for learners, and fairly quick in the bread world. This recipe makes 4 very large loaves, so I often halve the recipe and bake 4 smaller loaves, or you can freeze the bread to pull out for later meals (french dip sandwiches, paninis, stuffing, etc).


Aunt Janet's French Bread


1/2 cup sugar
4 tsp salt
1 quart (4 cups) hot water
1/4 cup vegetable oil
12 1/2 cups flour (preferably bread flour, but I use all purpose and it's still great)
2 TBS yeast dissolved in 1 cup lukewarm water


Mix sugar, salt, oil, and hot water in mixer (ideally a bosch). Add half the flour. Add the yeast mixture and stir. (At this point I swap out the beaters for my bread hook.) Add remaining flour and mix. Knead the dough well with the bread hook attachment for 2 minutes. Place dough in large greased bowl and let rise until double in size.


Punch down and divide into 4 equal pieces. Roll each piece out into a rectangle, and then roll into a long loaf and tuck the ends under.
Place 2 loaves on each cookie sheet and and let rise for another 1/2 hour. Make a few slits in the top of the loaf with a sharp knife.

Bake at 350 for 30 minutes.


Enjoy!

Monday, October 25, 2010

Grandma Tecla's Timeless Sugar Cookies

Sugar cookies are always a tradition in my family around the holidays (usually Valentines, Halloween and Christmas). They taste fabulous, but I'm not going to lie they are a PAIN if you do the whole ordeal in one day. I made that mistake as a newlywed trying to be the cute domestic little wife to impress my sweets but by the end of the night I hated everything and everyone- my bosch, myself, the stupid cookies, even my sweets for trying to remind me that cookies aren't that big of a deal... Hopefully some of you can relate. I have since learned that frosted sugar cookies can be pleasant, if you split the process up into 3 days. This recipe has been passed down by my darling little grandma Tecla, and I hate to say it to all you contenders out there but I really think it is the best sugar cookie recipe out there. Yep. I said it. If you don't believe me, try it out for yourself and let me know what you think. :)

Cookie ingredients:

4 1/2 cups flour
3/4 cup shortening (I like the Crisco sticks)
3/4 cup butter (not margarine)
1 1/2 cups sugar
3 eggs
1 tsp almond extract
2 tsp vanilla extract
dollop of sour cream (this is a recent addition from my sister Amanda, and it gives a perfect little puffiness to the cookies)

Day 1

Blend sugar, shortening and butter well (ideally in your Bosch... if you have a kitchen aid I will forgive you but will convince you in a later post why a Bosch is sooo worth the money even though it might not look as cute as the kitchen aid sitting on your counter). Add eggs, vanilla and almond flavorings and sour cream; beat well. Add flour 1 cup at a time until dough is stiff.

Wrap dough in wax paper and refrigerate at least 2 hours until chilled. For a batch this size, I suggest wrapping 2 separate little blobs so that the dough doesn't warm up too much while you are rolling and cutting out your shapes the next day. As the dough warms up, it becomes very difficult to keep the cookies in their shapes while moving them to the cookie sheet.

Day 1 is finished! Your cookie dough can stay overnight (and really even several days) in your fridge if you aren't ready to bake the next day.


Day 2

Roll out dough onto floured surface and cut into shapes with cookie cutters. A darling little helper is suggested, but not mandatory :)

Bake cookies at 375 for approximately 10 minutes until they are slightly golden around the edges and nice and puffy. Allow to cool for a few minutes before transferring them to a cooling rack. Once completely cooled, you can store them in a Tupperware container and either refrigerate them if you plan on frosting the next day, or freeze if you need more time till frosting day. Day 2 is finished!


Day 3

Butter Cream Frosting ingredients:

4 cups powdered sugar
1/2 cube butter
1/4 cup half and half (or more as needed for consistency)
1 tsp vanilla
Cream cheese (optional)
Food coloring


Melt butter in microwave in medium sized mixing bowl. Add about 1/4 cup half and half. Add powdered sugar slowly while mixing. Add vanilla. Continue to add half and half as needed to obtain a thick and creamy consistency. (Occasionally I add a a few Tbsp cream cheese for a slightly richer flavor... it's up to you!)
Scoop frosting into separate bowls, add your desired coloring to each bowl and frost away! This is the fun part for the kiddos to help. We like to add little treats and shapes to our cookies. This year's Halloween cookies are NOT the most beautiful or creative due to lack of time, but they still tasted fabulous!

Enjoy!