

I am SOOO excited to write this post because it means one really great thing... I am finished with one more project that has been ongoing for so long! Hallelujah! This particular project has actually been very fun and I love the end result. I only wish I had somewhere to put it in my own home :(
I fell in love with this cute little guy at the DI a while back but thought the price tag was a bit hefty ($15). Yes, I am cheap. I kept eye balling it each time I went back and after it had been there all alone for 2 weeks, I talked to the manager expressing my love for the piece but unwillingness to pay full price. He was thrilled to have someone willing to take it off his hands and dropped it down to $6. That's right, $6 for a solid wood bench with lots of character and charm (at least that's what I saw).
I knew it was fate the next week when I saw this adorable vintage-style night stand sitting all alone for $4. It was a match made in heaven for my bench!

Here is a quick recap of how this project went down:
1- I lightly sanded the pieces to remove the previous polyurethane and any blemishes.
2- I primed each piece with several light coats of Kilz original spray primer.
3- I painted each piece with several light coats of Krylon Blue Ocean Breeze spray paint in gloss.

4- I glazed each piece with Valspar antiquing glaze.

5- I sprayed each piece with several coats (with sanding in between) of MinWax Polyurethane spray in gloss.

At this point I was already in love but really wanted to upholster the bench to go at the foot of a bed (ideally in a little girl's room). After much debate (and your helpful votes) I chose a fabric that I loved, "Breeze Blue Sky" by P Kaufmann, sold through Joann (regularly $40/yard but got it on sale for $20... note: you have to purchase a minimum of 1 yard fabric when purchasing special order fabrics from Joann. I thought I only needed about 1/2 yard, but was very glad I was forced to buy a full yard. You will soon see why.)
I began the fun upholstery portion of the project:
1- I cut a piece of 1/2" wood (I might have had my sweets do this part) to the dimensions I wanted for this bench. Keep in mind that the foam, batting and fabric will add about 1/2" on each side. I also drilled holes with a 1/2" drill bit for the tufting I would do after the cushion was upholstered.
2- I cut a piece of 2" foam to the exact dimensions of the wood with a serrated knife.
3- I cut the batting and fabric to size adding 12" on each side (total 24" to the width and 24" to the length).
4- I layered the pieces on top of one another, beginning with the fabric face side down, batting, foam and lastly the wood.

5- Using my awesome pneumatic staple gun (birthday gift), I stapled the batting and fabric to the bottom side of the wood. I have found the most success if you begin your staple in the center of one side, pull fabric taut and staple in the center on the opposite side. Repeat the same process on the opposite sides of the wood, and continue process working your way out towards the corners pulling taut constantly as you go. Corners are still a challenge for me and I am certainly no master but here's what has worked best for me. I staple as close to the corner as possible, pulling tightly to ensure that all extra fabric is in the very corner. Once last staples are in place, I create a fold with the extra fabric and staple it down like this:


I followed instructions for tufting from one of my all time fave sites, All Things Thrifty, found HERE
Lastly, I secured the upholstered cushion in place with screws underneath the bench. Viola!
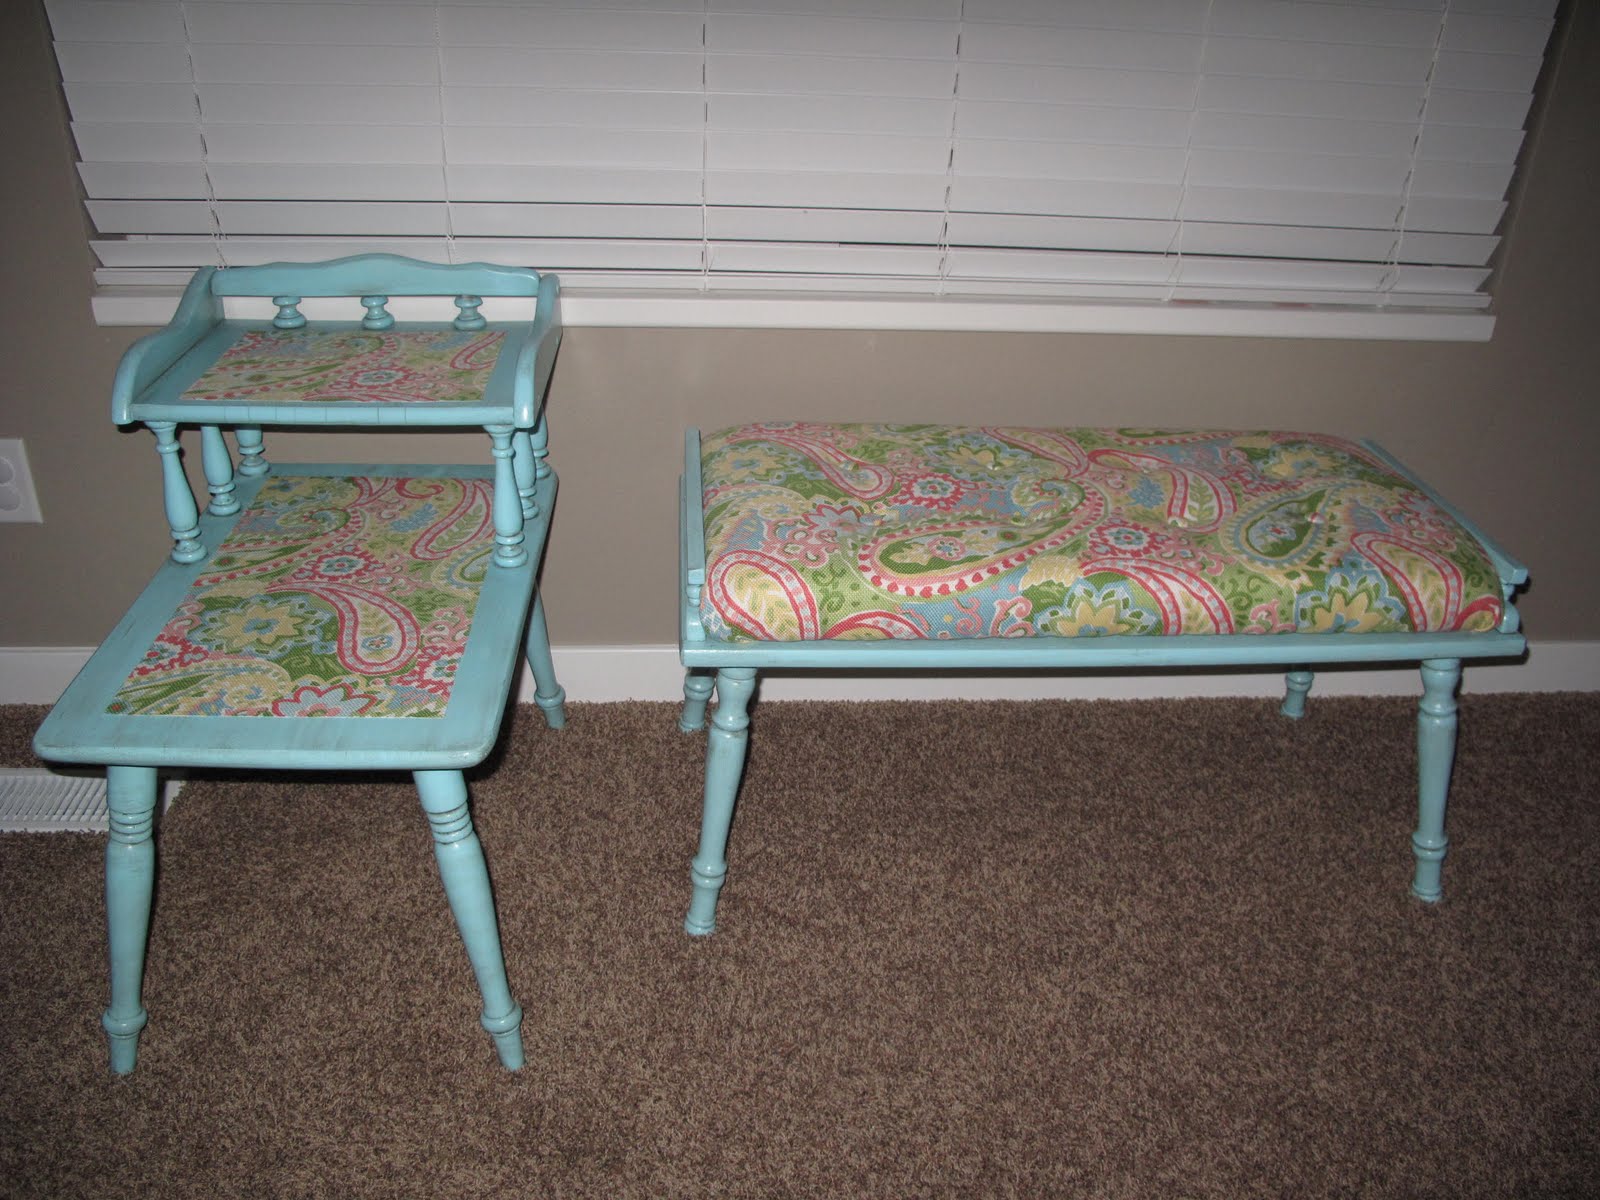
With the leftover fabric, I decided to decoupage the night stand. I found some great instructions here:
These are not great pictures but I was too excited to post this. I'm setting them up in my friend's daughters' bedroom for a mini photo shoot "on scene" and will post those soon.
If you are interested in purchasing this set, please email me: LittleMissPennyWenny@gmail.com
Are you ready to create some new furniture for your casa?


Hi Jen! I am so impressed with all your fabulous crafts! This set is gorgeous! Thanks for posting all your lovely endeavors. You inspire me!
ReplyDeleteNice job! I like the fun colors colors. Where did you get the fabric?
ReplyDeleteAnalise and Lisa, you are so sweet! Lisa, the fabric is from Joann's. It's P Kaufmann's Breeze Blue Sky (it has to be special ordered but only took a few weeks).
ReplyDelete