Let me preface this by saying that I am by
no means a professional upholsterer. In fact, if you by chance are a professional please look away. I don't want you to cringe. :) However, through lots of trial and error I'm starting to get the hang of it.
I have had several people ask me recently how/where I learned to re-upholster. When I first decided that I wanted to tackle this
French Wingback Chair myself, I spent hours searching websites and blogs for a great tutorial.
While there were several
okay ones out there, nothing completely answered my questions, particularly one that I had for covering my exposed staples on a chair with an exposed wooden frame (not like a fully upholstered wingback chair).
Finally I found what I was looking for on the ever so talented Amy's blog,
Design Intervention. She shared a fantastic week long tutorial called
Re-upholstery 101 that answered all of the questions I had. If you are interested in learning to re-upholster yourself, please read her tutorial!
That being said, I will do my best to walk you through the steps that I used to reupholster
this fabulous chair using a Home Depot $10 drop cloth for my fabric. Buckle up, here we go!
My very first suggestion would be to start out small. Before I tackled the French Wingback Chair with a pattern that I had to line up (still gives me a headache just remembering the experience), I started out with very simple projects where I simply had to upholster a basic shaped seat and screw it into the furniture. I first did these
accent chairs (tutorial available there for the very basics of re-upholstering),
then upped my ante a bit when I upholstered
and tufted this darling
foot of bed bench.
From there, and with the information I needed from Design Intervention, I tackled the French Wingback Chair. It was indeed quite the experience. I promise that one day I will post a tutorial on how that process went down, but in all honesty I kind of just don't even want to remember it for a few
years months.
After a project like that, this last
chair I transformed was literally a piece of cake.
Step 1: Label and Snap
Before you begin any work, I suggest that you label your individual pieces of fabric with a sharpie and take a "before" picture so that you will remember where each piece belongs on the chair.
 |
| I was naughty and didn't label my drop cloth chair, but this lovely picture of the French Wingback before shows the proper way to do it :) |
|
This becomes very useful on projects where there are more than 2 simple pieces of fabric. I also like to keep a notepad next to me as I work and jot down the order in which I pull off fabric sections, so that I know how to put them back on in the reverse order. In the case of my drop cloth chair, I first pulled off the seat cushion, then the back (outside), and lastly the back (inside). Unless your seat is removable like mine was, the seat cushion will typically be the last thing to come off (and therefore the first thing to go back on.... make sense?)
Step 2: Out with the Old
If your piece had a trim around the edge of the fabric, you will want to remove that first. Typically the trim is applied with hot glue, so find a starting point, and tug away. You will soon see the exposed staples. Then, using a very itsy bitsy flathead screwdriver and needlenose pliers, start pulling out all of the staples, one section of fabric at a time.
Removing staples is one of the most time consuming and painful parts of the process. Amy at Design Intervention suggests using a heavy duty staple remover (she purchased hers for $3 at Harbor Freight).
 |
| Image Via Design Intervention |
I will admit that I have not used one
yet but will indeed invest in one. My only concern with this would be when you are pulling staples from a chair with an exposed wooden frame (like this drop cloth chair and my french wingback chair) because you have to very carefully wiggle the staples out without denting the wood from using the remover or your screwdriver as "leverage". If your frame will be completely covered with fabric, have no fear and lever away!
Put on a good flick to watch while you work, and if you are smart, wear gloves (I never seem to use my own advice and still have gouges all over my hands). I like to work assembly line style, first prying out several staples as far as I can and then going back down the same "line" to pull them out with the needlenose pliers.
Drop your staples into a magnetic paper clip holder as you go to keep them from getting lost in your carpet or other work space. Since I do most of my removal in an unfinished basement, I just sweep up the runaways at the end but keeping a magnet nearby will definitely be helpful.
As tempting as it may be to throw away the dingy and crumb filled pieces of fabric when you have removed them from the chair- don't do it. You will want them as a template for your new fabric. I brush off the dust, fold them up and save them in a zip loc bag all together until I am ready to re-upholster. This is wise for those of you may have toddler thieves around the house who just might happen to constantly walk away with things :)
Because my seat cushion was a separate upholstered piece, I unscrewed it from the chair frame (not all chairs will be this way) and removed the trim and staples just the same was as I had to the top pieces.
Whether or not the existing foam will be replaced, you will then remove the foam and batting (if any) before you begin work on your frame.
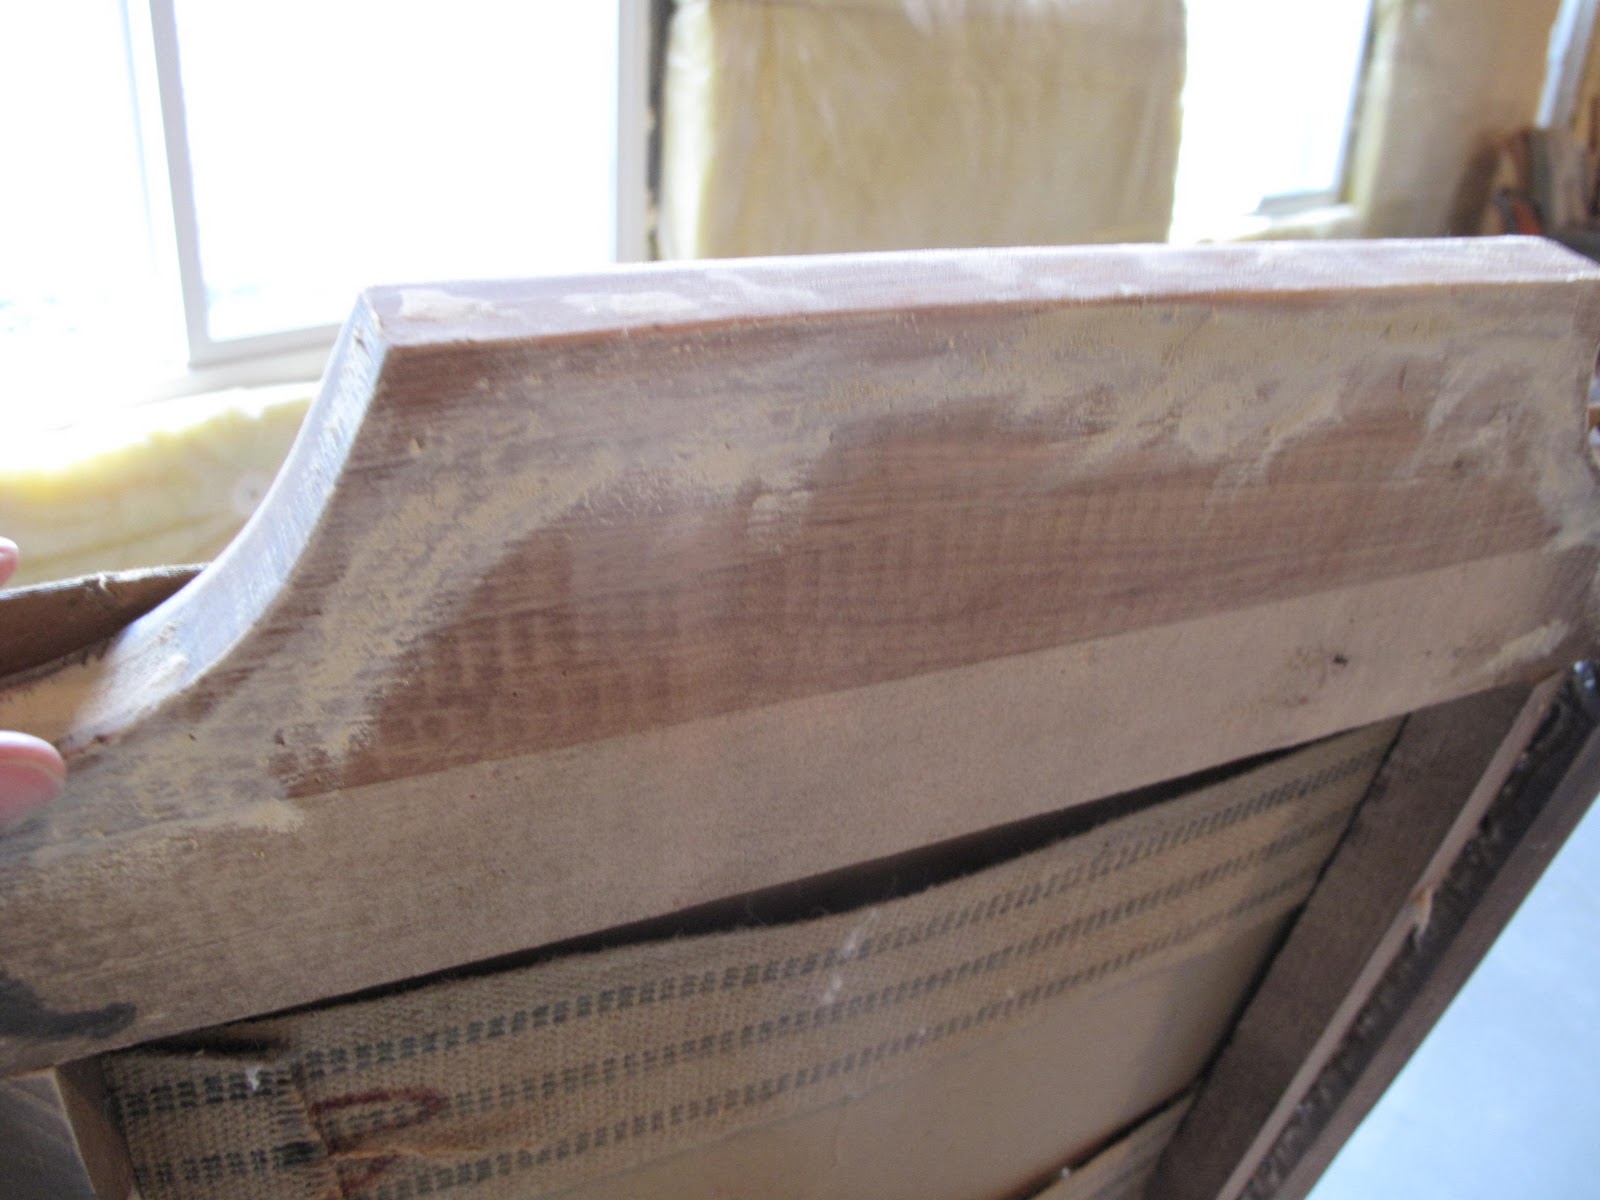
Once I had removed all of my foam and batting, I was left with this:
Step 3: Work your magic on the frame
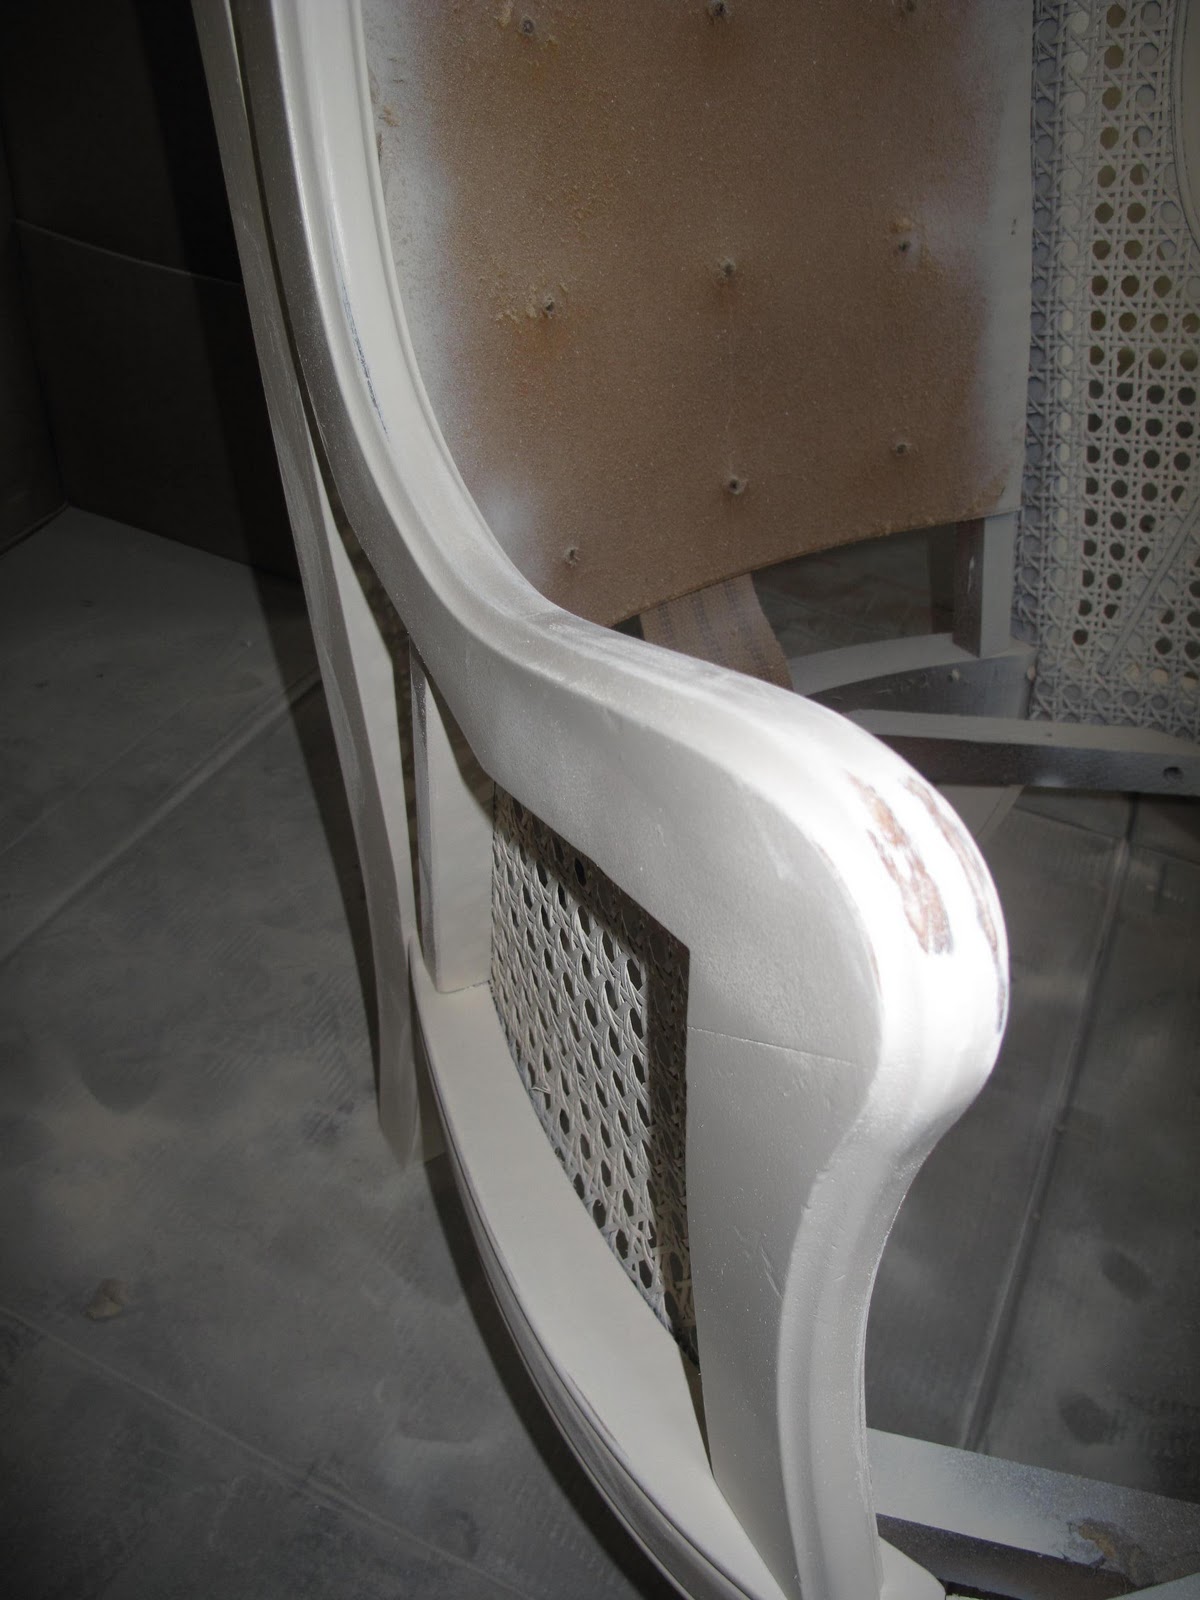
I wanted to create a very light and monochromatic look with a creamy distressed frame. Here's how I achieved this look:
1) Fill any significant gouges or staple holed with wood filler, wait for it to dry, and sand down with a fine sanding block.
I was thrilled to uncover this fantastic shaped frame and wanted to leave the top exposed, rather than upholstering over the top as it had been done previously. Because there were lots of staple holes on the top, I had a lot of filling to do.
2) Lightly sand the entire frame. (I very often don't sand my pieces beforehand, but the removal of staples left several chips of wood poking out and it needed to be sanded down).Wipe down the chair with a clean rag to remove any dust.
3) Spray the frame with Kilz original primer. This can be purchased for approximately $5.50 a can at Home Depot or Walmart.
I used approximately 1.5 cans for this project. I have used the "odorless" version and didn't like it as well. The original in an aerosol can is the way to go. You can also use the Kilz original primer in the paint can and apply it with a brush, but I prefer to spray it on smaller projects because you have no cleanup, and it leaves no brush marks. Even with mineral spirits, paint thinner, or MEK on my brushes after Kilz, they seem to be destroyed. When applying any primer, paint, or polyurethane spray product, you need to spray several
very light coats using an overlapping motion. If you feel like it needs to be fully covered in one round, you will absolutely be left with drips. The spray dries super fast, so you will be ready to re-apply in approx 10 minutes.
4) Because primers leave a somewhat "gritty" texture, you may want to quickly sand down the frame with a very fine sanding block to make for a more smooth finish. Don't sand so hard that all of the primer rubs off, but if you do see wood start to show through in some places- no biggie. This piece for me was going to be distressed anyway so I wasn't worried about perfect coverage.
5) Spray your frame with several light coats of paint. For this piece, I used Rustoleum's Heirloom White in Satin Finish. This can be purchased from Home Depot for approx $3.50 per can. I used about 1.5 cans for this project.
5) Lastly, I lightly sanded the high points on this frame with medium sand paper to create a distressed look. In some places I sanded all the way down till the wood shone through, and in others just down to the primer. It created the perfect look for what I wanted.
6) Optional- If you are painting something that you don't want to chip at all (i.e. that hasn't been distressed) I would suggest spraying several light coats of Minwax Polyurethane spray for protection, with a light sanding between coats. Because this piece is distressed, more chipping or dings would only add to the character so I didn't do any polyurethane.
Once your frame is finished to your liking, it's time for the foam!
Step 4:
Fill 'er up!
Occasionally you come across pieces with foam and batting still in great condition. Unfortunately years of wear will flatten and misshape foam so that most often this needs to be replaced. In my case, the foam was actually still very plump and full of life for years to come, however, it had been tufted and so after years of holding the shape with pleats cutting through the foam, it wouldn't work for this chair unless I tufted it (and in the exact same place).
That wasn't my vision for this piece, so I had to get new foam.
For the inside back, I went with a 2" thick foam, purchased from Joann Fabrics with a 40% off coupon, making the total $17. (Foam ranges from $10- $70/ yard regular priced. It is MUY expensivo).
For my seat cushion, I had a huge piece of 6 inch foam that I got for free from the cushion of a couch that the DI (local thrift store) was going to throw away since it was unsellable. SCORE.
I thought that it was way too thick and planned on cutting it in half. After my sweets convinced me to just try it, I was thrilled with the way that it looked once the fabric was in place and pulled taut. It created the perfect bubbly look that I love.
To cut your foam, I suggest using an electric knife- you know, the kind you got for your wedding to carve turkey and roasts but have never once used because you forgot you had it? Yeah, that one.
If your chair already had foam, use that as a template and trace the same shape onto your new foam with a sharpie. If you are creating a new shape (as I did for my drop cloth chair in order to expose the top of the frame), create a template on a piece of paper or paper towel. Trace the template onto your foam with a sharpie.
Always cut your foam wider than the piece you are upholstering if it is going onto a base. I would suggest anywhere from a 1/2" to 1" perimeter around the base, depending on the thickness of your base (i.e. wooden seat in my case).
I made a big boo boo and totally spaced this when I cut my foam for the seat base.
 |
| note that I cut my foam to the exact same size as the board. I should have cut it with a 1" lip all around. |
Once your foam is cut, there's no turning back and it is an expensive woops, so think before you cut (
duh Penny Wenny). In my case, I had to come up with a creative fix after the whole thing had been stapled and I realized what I did wrong. This is one problem that comes with doing projects after midnight- my brain is usually fried.
Please stay tuned for Part 2- Prepping your Drop Cloth and Stapling away!
*** Update- Part 2 can be viewed HERE ***
I'm sharing this tutorial with the following fabulous peeps and their parties: