Showing posts with label holiday. Show all posts

Monday, October 10, 2011

Freezer Paper and Spray Paint Zipper Free Pillows

Yep yep you read it right... in this post I will show you how to make very adorable and very inexpensive pillow covers using freezer paper and spray paint for your pattern or print.

Here are three that are currently adorning my front porch for the Halloween/ fall season.


The front porch still needs some more sprucing up but that's a'comin shortly with some punkins and corn stalks my friends...

So, here's what you'll need:

- A bleached canvas drop cloth (read my post HERE on how to prepare the drop cloth if you haven't already read it)
- Freezer paper (wax or parchment paper won't work... I tried and it failed miserably)
- a sharp razor blade or exacto knife
- spray paint in the color(s) of your choice

Here's how it's done:

First, you need to create your envelope pillow cover.  Please proceed into this next section with caution.  When I sew, I typically just wing things.  I didn't follow an exact template or cut each piece the same every time.  Using another pillow cover as my guide, I cut a piece of drop cloth to be the width of the pillow I was covering plus approx. 2 inches by the length of the pillow x 2.5.  Sooooo, if the pillow you are covering is 20" x 20", your fabric needs to be 22" wide x 50" long... make sense?

Hem each short end of your fabric under. 

I prefer to quickly sew mine, but you can also use stitch witchery if you prefer.  With this product, you cut the stitch witchery to the length of the area you wish to seam together, and then iron the two folds together.


Honestly, it took me longer and didn't look as nice with the stitch witchery.  I'll let you decide, my friends. :)

So at this point you should have two hemmed edges (on the shorter ends of your fabric). Lay the fabric down, right side up facing you (so that the hemmed edges are facing the ground).  Fold one side over approx 1/3" of the width of your final pillow.  For a 20" pillow for example, I folded one side in about 7".

 Next, fold the second side over the top of your first fold to equal the desired length of your pillow (20" in my case). 

see my cute new birthday present peeping out???

 Place a few quick pins in place, and stitch each side so that your final width is the width of your pillow.  If you added 2 inches to your original calculation, sew in 1" on each side.


If you're feeling really wild, you can even surge the edges at this point.  :)  It was 2 am for me and I was too tired so one quick stitch worked just dandy for me.

Fold the pillow cover inside out and viola!  You should have a nice little envelope cover that doesn't require any zipper, buttons, or ties.

Now, onto the fun part.  Using freezer paper, I created my own stencils by tracing images/ other fabric prints and then used a sharp razor blade to cut out the parts I wanted colored.

I traced the chevron pattern from my curtains for one, a black crow from THIS Tag Halloween doormat, and then some leaf stencils for the last one.  If you have a cricuit or similar machine, this would be a FABULOUS time to whip it out and save yourself a lot of time.


Next, place the freezer paper carefully on your pillow cover where you want the images to be placed, shiny side down.   With your iron on medium to high heat (mine is old and ghetto so the hottest temp is perfect), iron the paper onto your fabric, paying careful attention to the cutout sections making sure that the freezer paper sticks well.  If you are lazy here, your paint will bleed through.  Trust me on this one.  I learned the hard way. :)


Finally, cover all of the exposed parts of your fabric that you don't want painted and lightly spray paint over your stencils.  My paint never bled through the fabric, but you may want to put a piece of cardboard or thick cardstock inside the cover to prevent the paint from bleeding through the back side.  Remember not to over saturate the painted area.  It will not appear to be a very deep color when painted onto the nubby canvas material, but it will pop plenty once you remove the stencil. 

the color I used for the rust orange is called Cinnamon by Rustoleum.  I loved it

Allow the paint to dry for at least 10 minutes, then remove your stencil and once again, VIOLA!
I was skeptical at first with the idea of spray paint on pillows but I can assure you that they look and feel fabulous.  It isn't scratchy, and the paint doesn't rub off at all.  The canvas material is already nubby and natural feeling, so it works perfectly.  You can also use this to create indoor pillows with some fun geometrical shapes or text.  I created this cute little turquoise pillow and my & pillow using the same technique.
Kind of fun, right?  To care for these pillow covers, turn them inside out before putting them on a gentle cycle in the washing machine, and then allow them to air dry.  I'm not so sure how well an iron would work with the paint, so I plan to avoid it all together.

Do you spy my new curtains in the background???  As you can see, I went with my first fabric choice and am SO glad I did.  I will do a separate post on them soon.  With my curtains sewn and my new rug that my sweets gave me for my bday, my family room is finally starting to feel like my style.  I can't wait for it all to be finished.

Also, to end on a sappy note I just have to share the very best part about my birthday this year.  My darling hubby told me (sincerely) that he married me because I make him a better person.  It wasn't a compliment I was seeking for, and he wasn't expecting anything in return (wink wink); he genuinely meant it.  Man, I love that man.

thanks for reading, my friends...

XO

~One-year-older-but-not-much-wiser- Penny Wenny

I'm sharing this tute with the following fabulous parties.  Check them out!

Tip Junkie handmade projects


The Shabby Nest


Photobucket


Domestically Speaking

UndertheTableandDreaming

Sunday, April 17, 2011

Easter Bunny Shortbread Cookies

I have been craving a yummy shortbread cookie this week and decided to kill two birds with one stone by fulfilling my craving, and trying to be festive for the upcoming holiday.  I googled a few recipes, and then called my momma.  Using her recipe and a few tips from a  Barefoot Contessa recipe, I came up with these cutie pies:


They were super quick and simple to make (my kind of dessert).

Here's what you need:

 Cookies
  • 2 cups butter (4 squares) at room temperature
  • 1 cup sugar
  • 2 tsp vanilla
  • 4 cups flour
Chocolate Ears

  • Chocolate chips, or baking chocolate squares
  • Sprinkles

Preheat oven to 350 degrees.

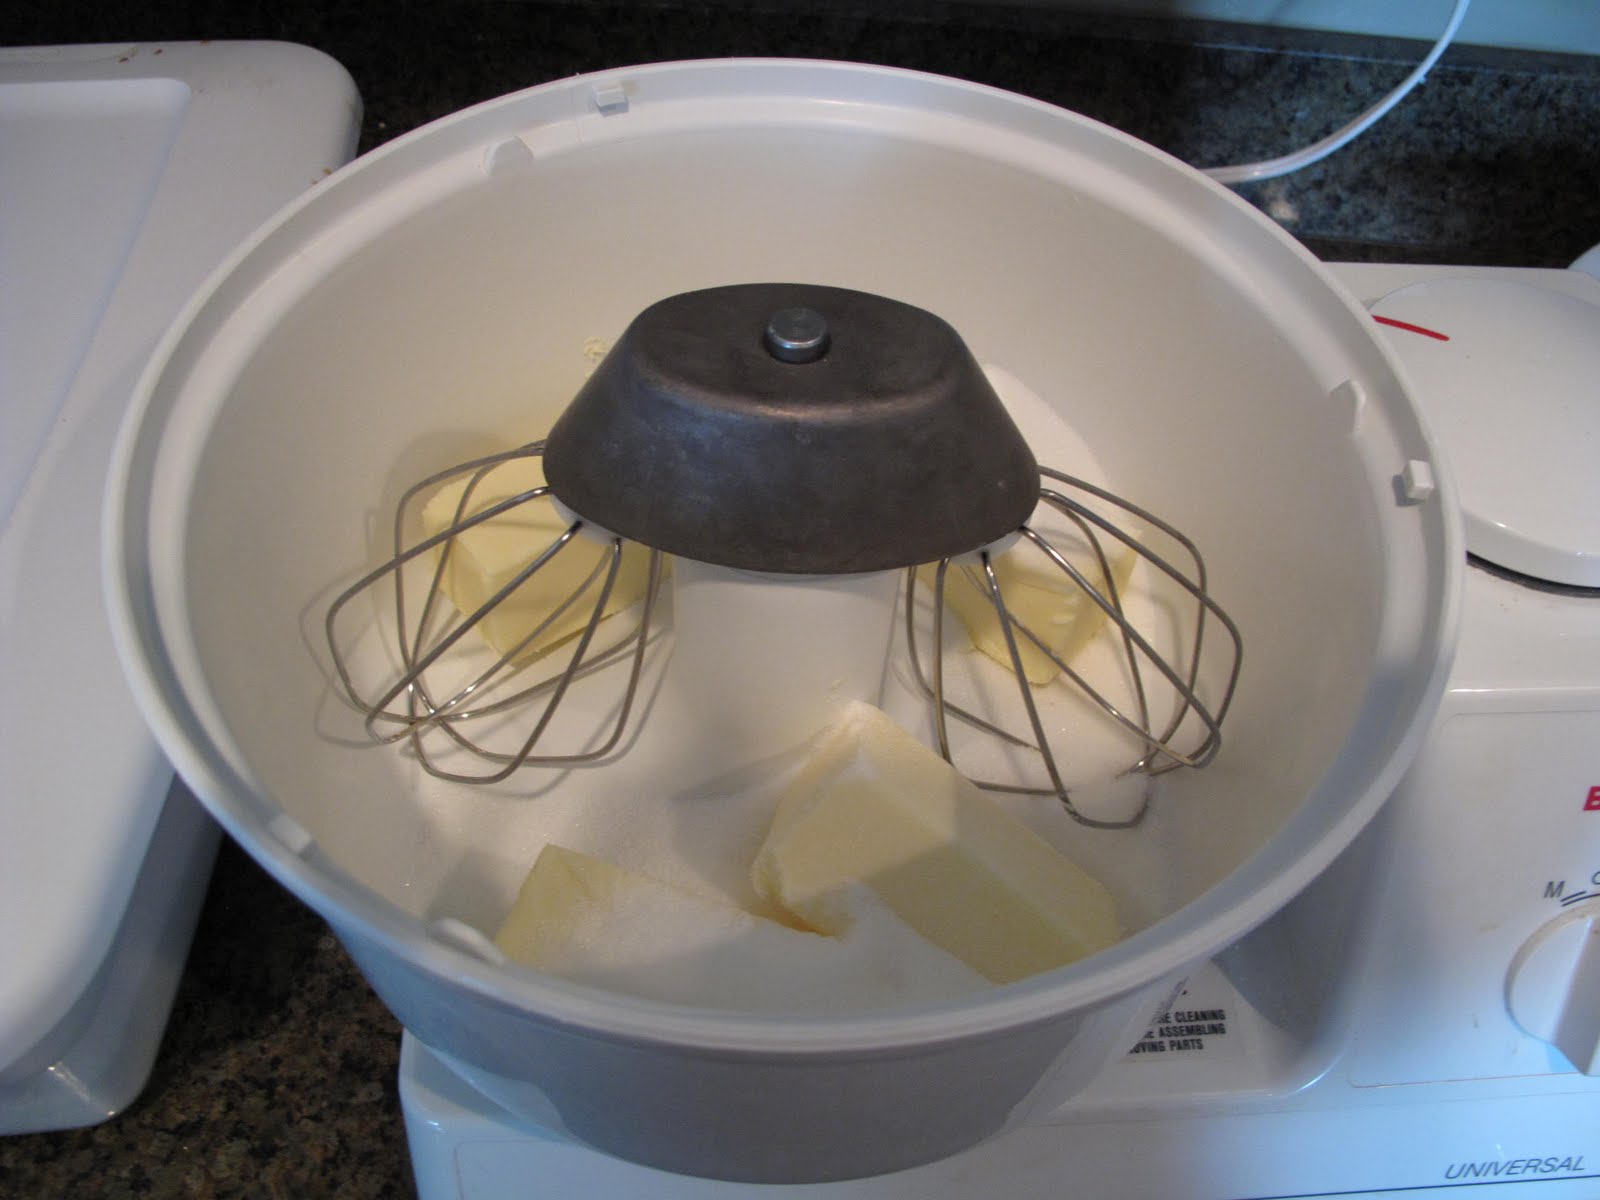
First, mix together the butter and sugar until it begins to mix together (do not overmix, you don't want the butter to begin melting).


Add in vanilla and mix just until incorporated.

Add flour, mixing in a cup at a time.

Mix until the "peas" of butter begin to form a ball together with the flour.  Do not overmix.

Dump the dough onto a lightly floured surface, and shape into a 1" thick disc.

Wrap disc in wax paper or saran and regrigerate about 30 min or until chilled.


Roll out chilled dough till it is approx 1/2" thick, and cut out your cookie shapes with a cookie cutter.  Try to handle the dough as minimally as possible while rolling and moving to cookie sheet to keep the dough chilled.

Place on ungreased cookie sheet, and sprinkle lightly with sugar.  (Okay, so maybe I like a little more than "lightly".  Judge me.)

Bake for 12 minutes or until edges are slightly golden.  Do not over bake.

 Transfer (carefully) to a wire rack to cool.  Once cool, melt chocolate in a small bowl (in micro or above a steaming pot of water) and dip the cookie into the chocolate.


Sprinkle the warm chocolate, and set out on wire rack to cool.


Enjoy!  I feel so carnivorous biting these little guys ears off, but they just taste so good!


Have a wonderful Sunday afternoon!  Don't forget to enter the giveaway HERE that ends tomorrow night!  There are some darling accessories to be won by one lucky reader!

xoxoxo,

PW

I'm sharing this scrumptious treat with these awesome parties:
Tip Junkie handmade projects

Photobucket

Monday, March 28, 2011

Spring Jelly Bean Topiary

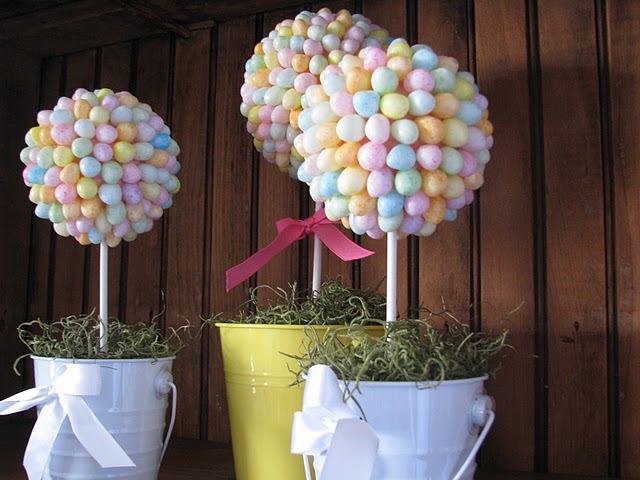
I must admit that while I absolutely admire (and envy) all of the creative peeps out there who decorate and craft for every holiday, I haven't really ever been one of them myself.  I do love to decorate for Christmas and occasionally swap out my front door wreath and mat, but that is about the extent of the seasonal changes in our house.  It's not because I don't like the holidays and different colors that come with each celebration, it's merely because I don't have the $ to spend to buy the decorations that I think are cute.  So, when I saw these darling jelly bean topiary's from Oodlekadoodleprimitive that I think are oh-so-cute for Easter and realized that they were so within my price range, I got right to work.

Source         

Here are the supplies I used for two topiary's:


  • 1 long wooden dowel from Home Depot (approx $0.90)
  • Stain or paint for wooden dowel (I used some of my leftover Minwax stain in Jacobean)
  • 2 small containers, I purchased mine from All a Dollar (for $1 each...surprise) and sprayed them cream with some leftover Rustoleum paint in Heirloom white
  • 2 foam balls ($3 each from WalMart)
  • 1 square piece of foam, cut in half ($1 from All a Dollar)
  • 1 small bag of Reindeer Moss ($1 from All a Dollar)
  • 4 bags of Brachs Speckled Jelly Bean Eggs ($1 each from WalMart)
  • A hot glue gun and 1.5 glue stick
  • Decorative Springy Ribbon
  • LOTS of patience while hot gluing
First, I glued the jelly beans directly onto my green foam ball.  You can certainly paint your first but I was totally okay with bits of green showing through since green is a springy enough color for me :)  This is the most tedious part, but hang in there and the end result is worth it.  I found that if I pressed the jelly beans too hard into the ball that a layer of foam would pull off with the dried glue anytime I moved the ball, so the lighter the better for pressure! 

Leave a small gap at the top (or bottom) of the ball for your wooden dowel.


Once your dowel has been stained (or painted) and cut down to size (preferably by your very own sweets with the saw), insert the wooden dowel into a pre-made smaller hole that you create with a pen or pencil. (I did this simply because I had a flat end on my dowel and wasn't having much luck with a starting point to push through so the pencil created a guide for me).

I also added a dab of hot glue into the hole I created before inserting the dowel.  The ball part of your topiary can be very top heavy, so do your best to center this as well as possible.  I didn't do such a great job of this on my first one, which is why you will only see the second finished product from me :)

Since I was a bad girl and failed to take pics along the way of the bottom, please imagine great detailed pics to go along with these next (very difficult) instructions.

Cut the square foam in half (or to whatever size you need for your container) and set inside container so that it is either flush with the top or slightly lower than the top.  Hot glue the reindeer moss on top to cover the exposed green foam. 

Once the wooden dowel has dried in the ball, press the other end of the dowel in the center of the square foam (again in your pencil drilled hole with a dab of hot glue). 

Add a cute springy bow, a few little "eggs" to the base of the topiary and display!

How cute and easy was that?  Please forgive the horrible pictures taken at midnight... more to come in better lighting :)

I'm feeling inspired to do even more spring and Easter decorations.  I'll share some of my favorite ideas I've seen lately that have inspired me tomorrow. 

Happy hot gluing to you all!

~PW